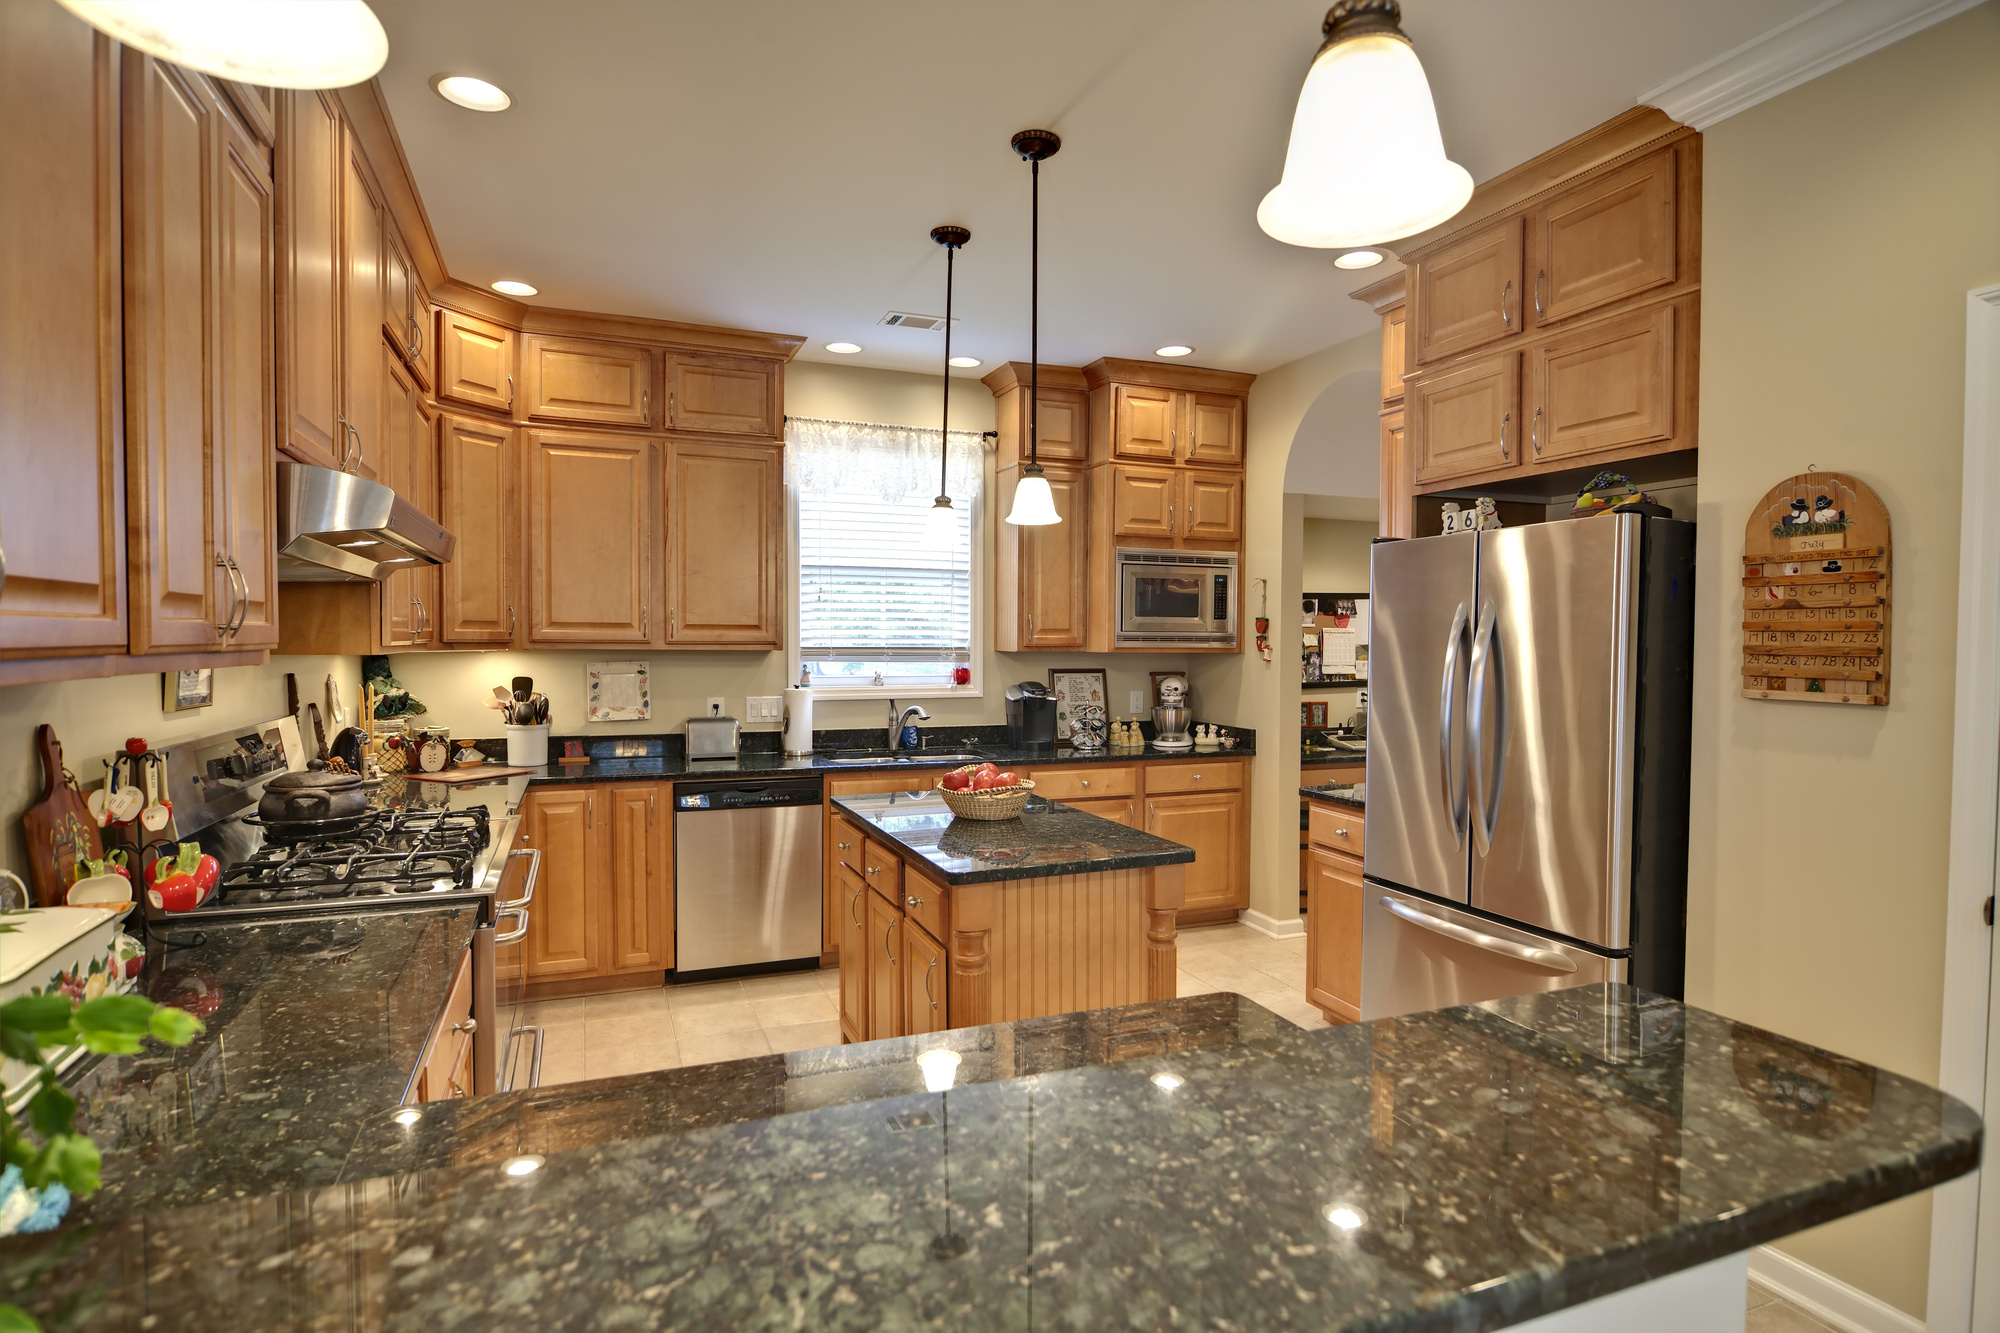
You might love the look and feel of granite countertops – but have you ever considered learning how they’re made?
When you know how these counters are made, you’ll have much more appreciation for your kitchen granite countertops. Whether you’re thinking of buying some or are already in the installation process, it all becomes more exciting when you understand the full process of making a granite countertop.
That’s why we’re giving you the full story of how granite countertops come to be, from start to finish. Keep reading to learn about this fascinating process!
1. The Beginnings
Granite is heat-resistant and doesn’t blister, making it one of the top choices for luxe counters. It’s beautiful and more functional than other materials, like synthetic, laminate, and even marble.
One of the most beloved things about a granite counter, though, is its luminescent glow when polished. That glow comes from the locked crystals of mineral that make up this rock. Granite is made mostly of quartz and feldspar. It can also contain a number of other minerals, which give each piece a unique appearance.
Granite for countertops comes from quarries. It’s blasted, drilled, or chiseled out of the earth, and mining machines cut it into slabs of the right size. These slabs are usually about five feet wide and nine feet long at largest – bigger pieces can cost much more.
Other specialized machines are used to polish these slabs so they have an even thickness. At this point, you can already see the countertop taking shape.
It takes a lot of specific tools to get granite counters ready for installation. Some people might buy custom pieces, but it’s more cost-effective to buy pre-cut pieces of granite instead. It all depends on your kitchen design, and the way the piece of granite is formed.
2. Cutting
The next step in making kitchen granite countertops is cutting the stone. Most of this happens on location at the quarry, but some of the work will need to be done on-site during installation. No matter what, the right equipment needs to be used.
To shape something as dense and hard as granite, a typical household skill saw can be used, but only with a diamond cutting blade added. However, the professionals know that the vibration of these blades can make the granite chip. To keep that from happening, they often place collars on each side of the blades to reduce vibration.
Granite that’s cut dry also creates a lot of dust. A vacuum attachment on the blade helps cut down on the amount of dust that gets into the air.
The edges of your granite countertops can be shaped in different ways, depending on your preference. Choose from beveled, flat, curved, or rounded edges.
However, it’s hard to get the edges to match perfectly and meet in the corners – that’s why you need professionals to do this delicate work. They can use automated edge-shapers that will polish and cut the edges.
3. Installation Preparation
Now, the counters are prepared and ready to be placed in your kitchen. Installation takes a lot of labor, and a great deal of precise measuring.
In the kitchen, the fridge and stove will need to be removed to make room for the installation process. The sink also needs to be taken out of the countertop. If the current countertop was attached with screws, you might even need to take out the doors and drawers from the lower cabinets.
The workers doing the installation will need to carefully measure things like the openings for appliances, so the countertop will fit perfectly. Most people want the edges of the counter to be flush with the edges of the cabinets and other parts of the kitchen.
A template can help when trying to make the right amount of space for a cooktop or sink. Your installers will also need to take your backsplash’s thickness into account. This will help make sure the faucets will fit where they need to go.
Protect the subcounter with a layer of plastic sheeting beneath the granite.
If you’re hoping for a seam-free countertop, you might be out of luck. It’s typical for granite counters to have one seam at least, since most granite slabs are under 10 feet long. It’s possible to get a longer piece, but it’s also much more expensive.
4. Installation
If there are seams, they should be placed where the cabinetry is well-supported. The two pieces might have slight differences in thickness, so a shim can help make sure the top of the counter stays flush.
The installers will apply silicone between the two slabs, which accommodates contraction and expansion. They’ll also use epoxy to keep the granite firmly in place. Where it’s visible, the epoxy should be combined with resin that’s colored to match the granite, so you won’t be able to see it.
The colored resin can also be used to camouflage the caulking used to attach the counter and the backsplash.
5. Sealing
Granite countertops don’t really need to be sealed. However, a seal helps keep dirt away from the stone. Dirt can cause the granite to become stained or etched, so it’s worthwhile to keep it away.
Granite is naturally moisture-resistant, but it is still porous. A sealant will help keep liquids from getting in and damaging the surface. Otherwise, colored liquids can sink in and stain the granite.
Every year, a new layer of sealant will keep your counters protected. However, your counter might need to be sealed more or less often, depending on how porous your granite is.
Ready for New Kitchen Granite Countertops?
Kitchen granite countertops bring some of nature’s most beautiful patterns into your home. Granite is durable, stylish, and matches every kitchen. Why not try it in your own home?
When you’re ready to get the process started, contact us.

